Fusion
A more unreal fuel than diesel. Collection of scripts to help port PAYDAY 2 Diesel maps to Unreal Engine.
Disclaimer: This toolset is not highly polished and is primarily for personal use. Please use it at your own discretion.
Overview
Required Software
| Software | Link |
|---|---|
| PAYDAY 2 Model Tool | Download Release |
| PAYDAY-2-Hashlist | GitHub Repository |
| DieselBundleViewer | GitHub Repository |
| BeardLib-Editor | GitHub Repository |
| Blender | Official Website |
| Python | Official Website |
| ImageMagick | Download (Required only for PAYDAY 3 / UE 4.7 users to convert .dds to .webp) |
Included Scripts
| File | Purpose |
|---|---|
pdworld2json.py |
Converts world.continent files to JSON format and fixes location rotation to work natively with Unreal Engine. |
ConvertExportedToUnreal.blend |
Fixes .model files exported by the PD2ModelParser (removes unneeded objects, rotates models properly, and sets the correct origin). |
ExportModels.bat |
Automates background model exporting for a smoother workflow. |
ModelCopyForBlender.bat |
Easily sets up a structured working folder for Blender. |
Getting Started
1. Download the Project Files
Download the files by selecting Download ZIP from the repository.
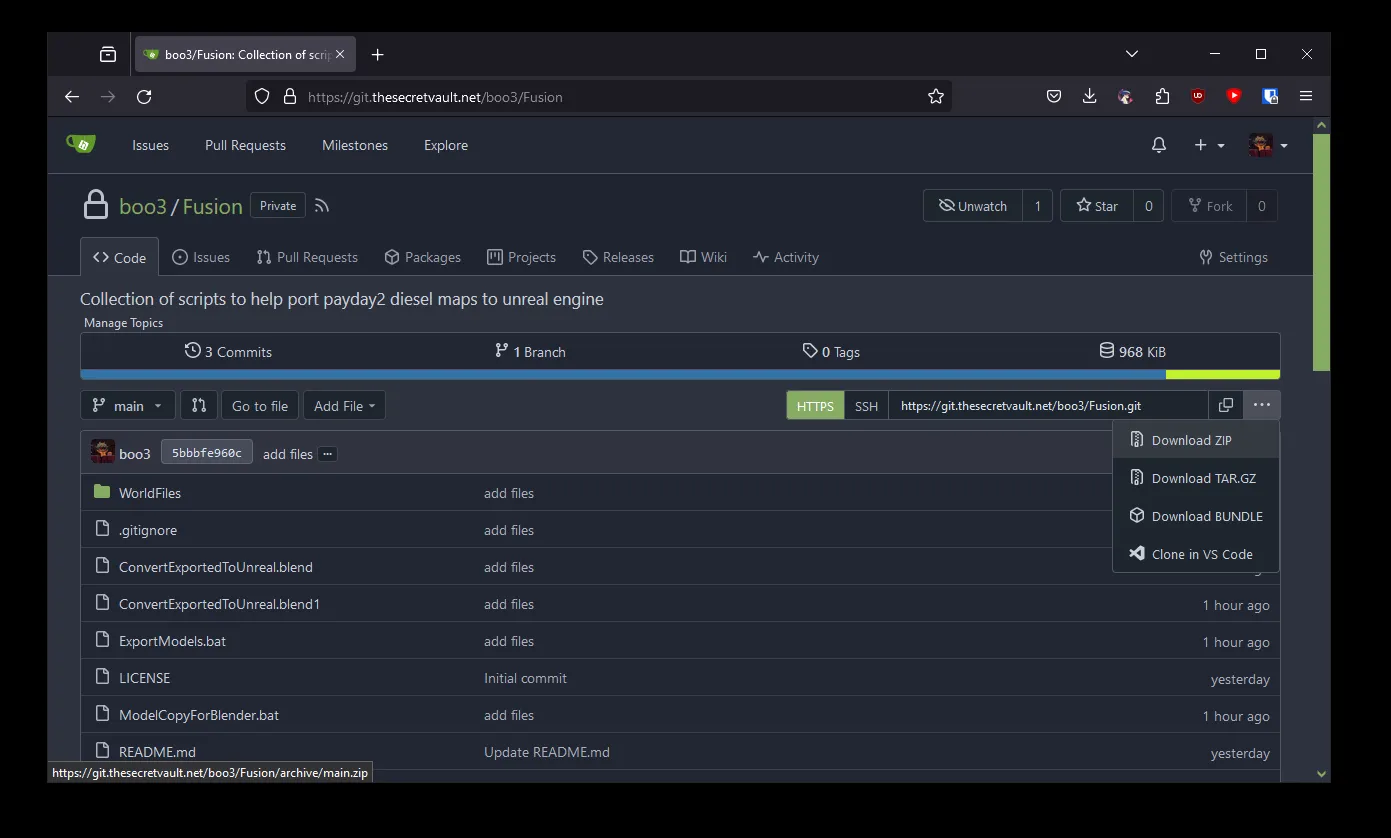
Extract the contents. Make sure you have plenty of storage space available, as the extracted game assets will be quite large.
2. Export Level Data
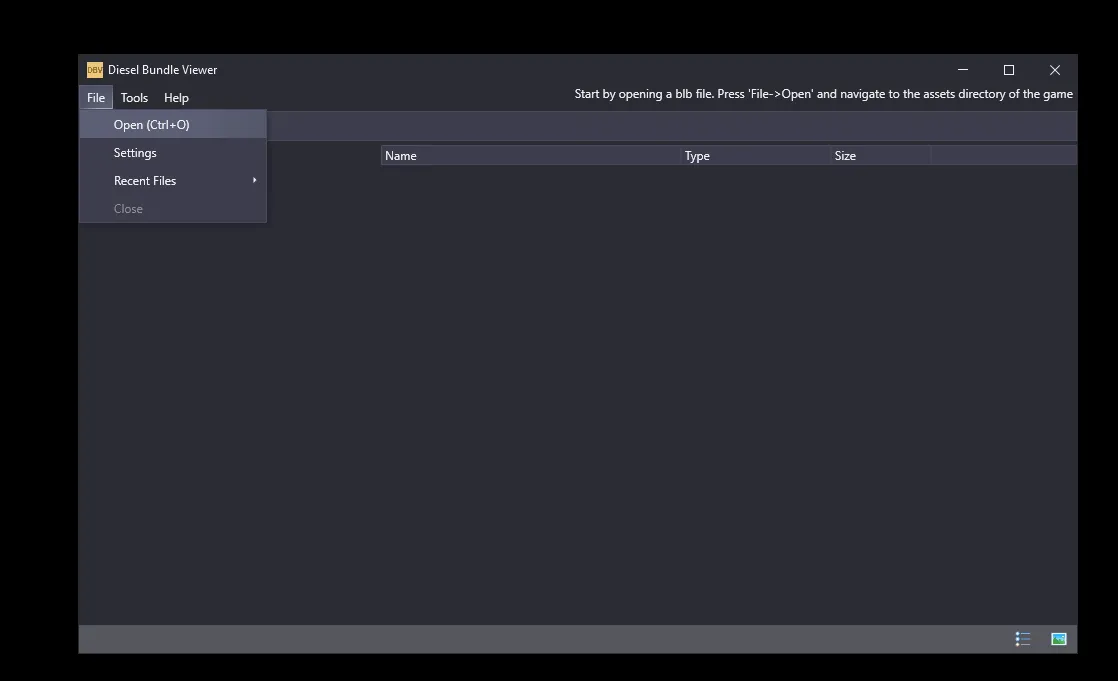
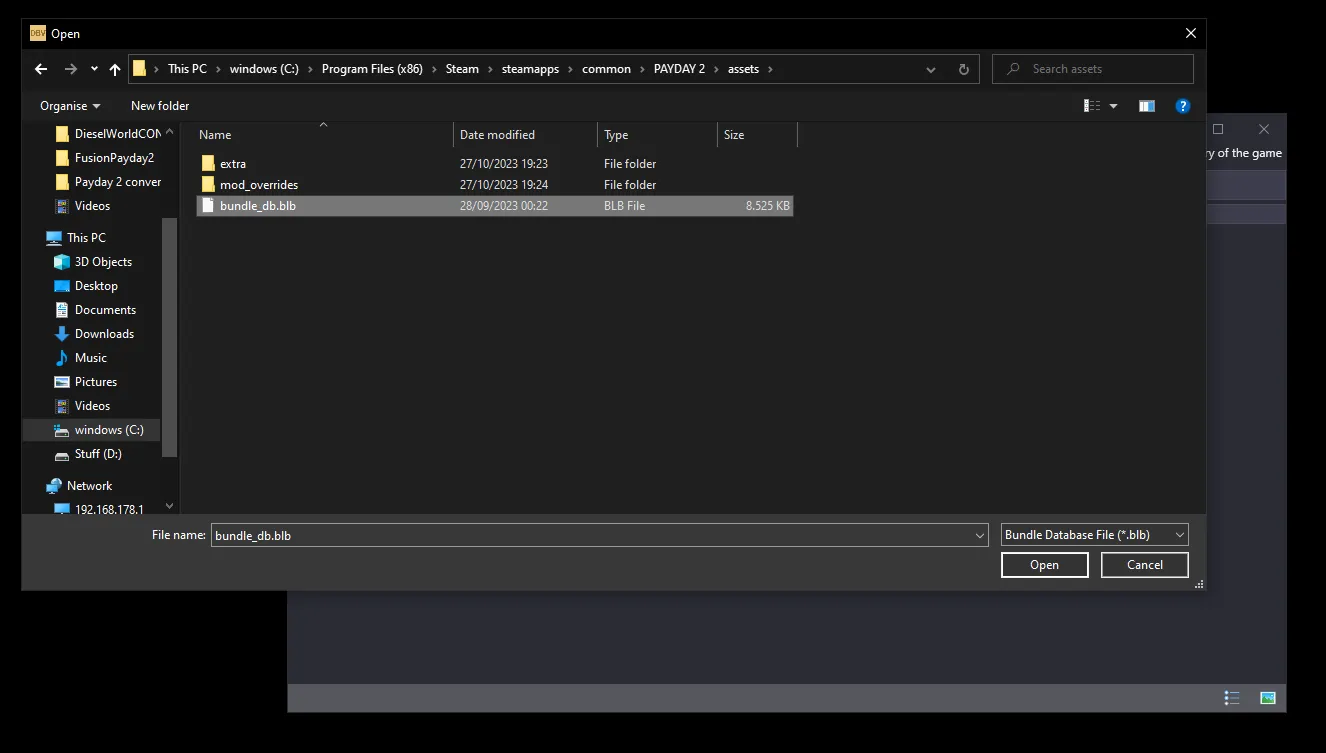
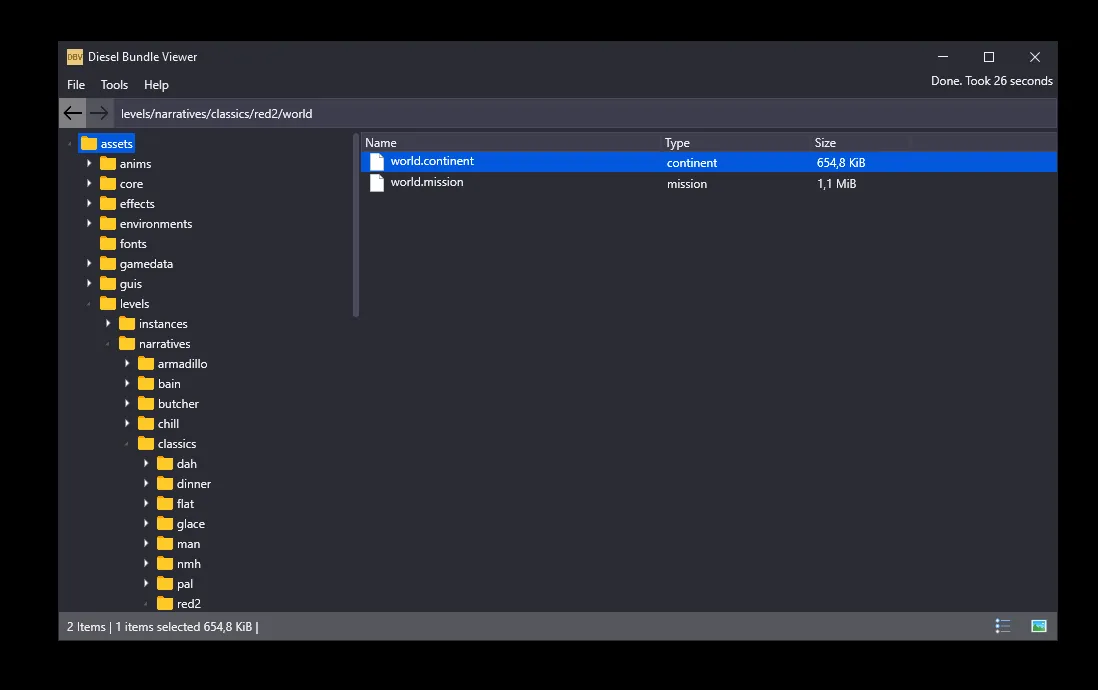
Install DieselBundleViewer and open PAYDAY 2's bundle_db.blb.
Open DieselBundleViewer:
Open bundle_db.blb:
Navigate to /levels/narratives and choose a map to port. In this example, we will use First World Bank. Navigate to /levels/narratives/classics/red2:
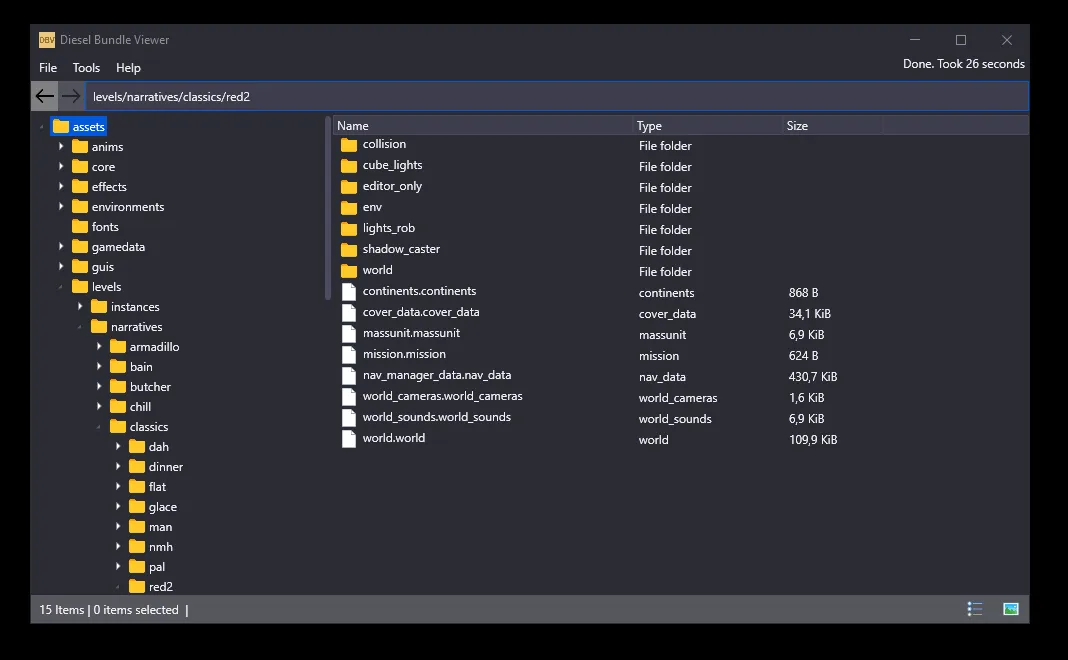
Go into the world folder:
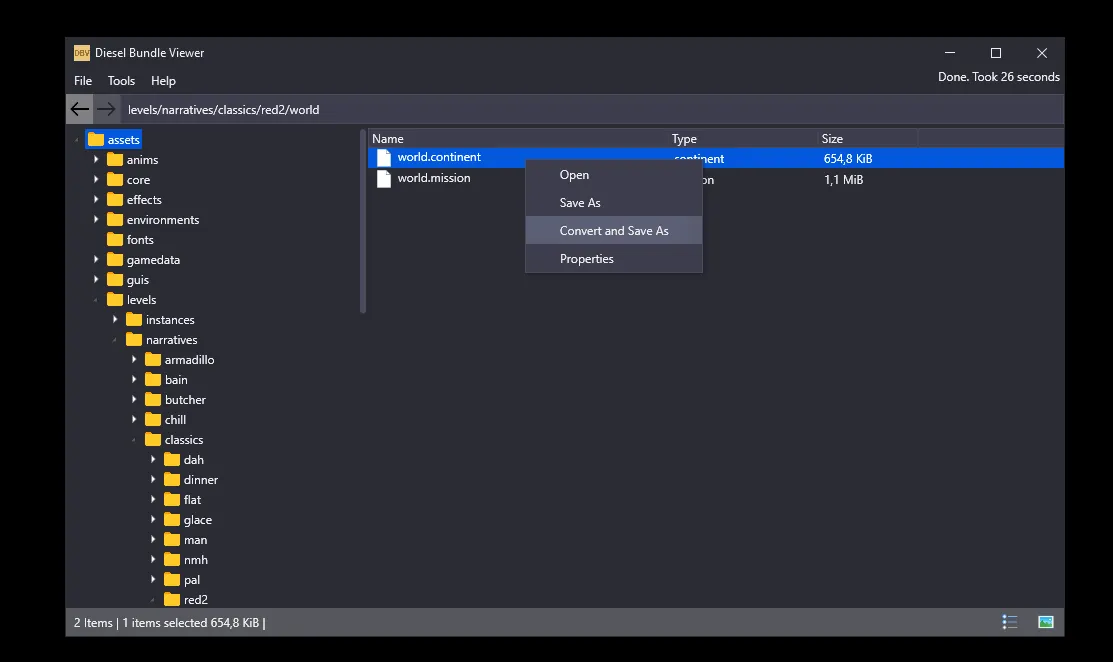
Click Convert and Save as:
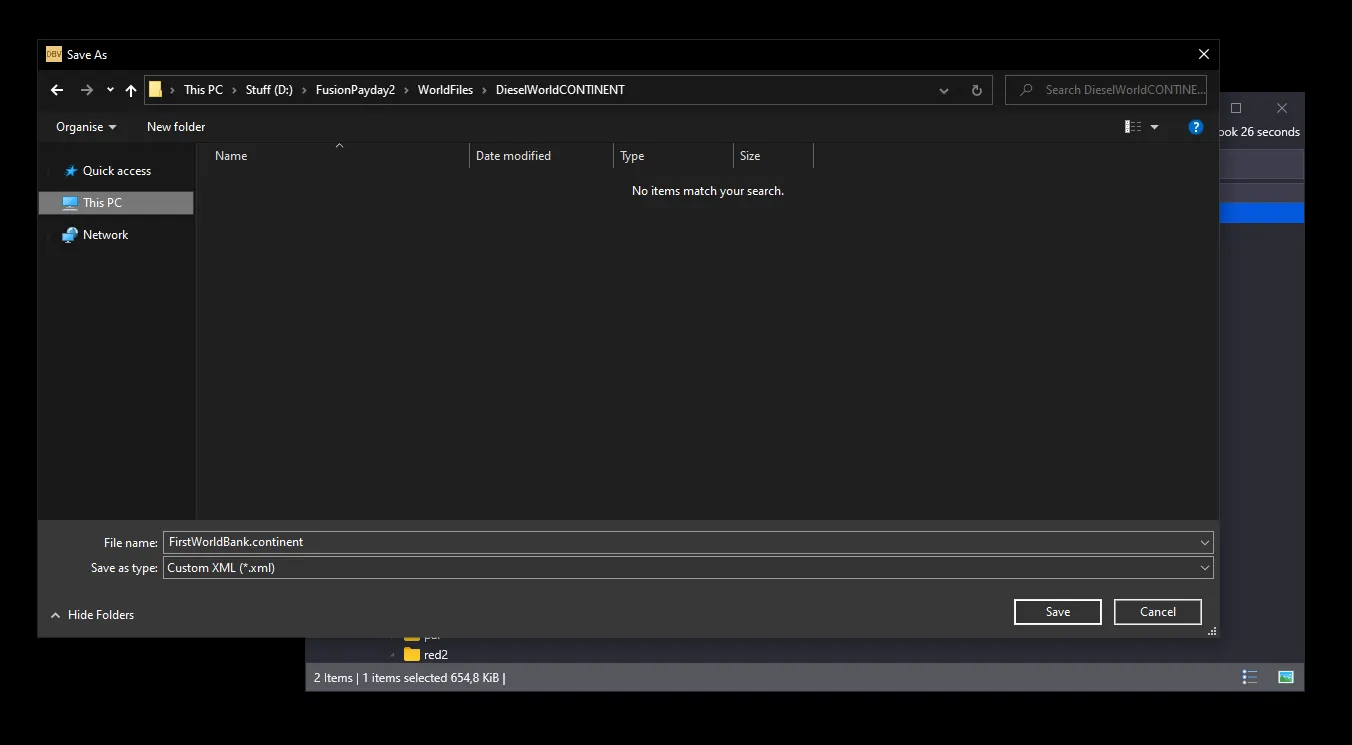
Save it in the /WorldFiles/DieselWorldCONTINENT directory:
3. Run pdworld2json.py
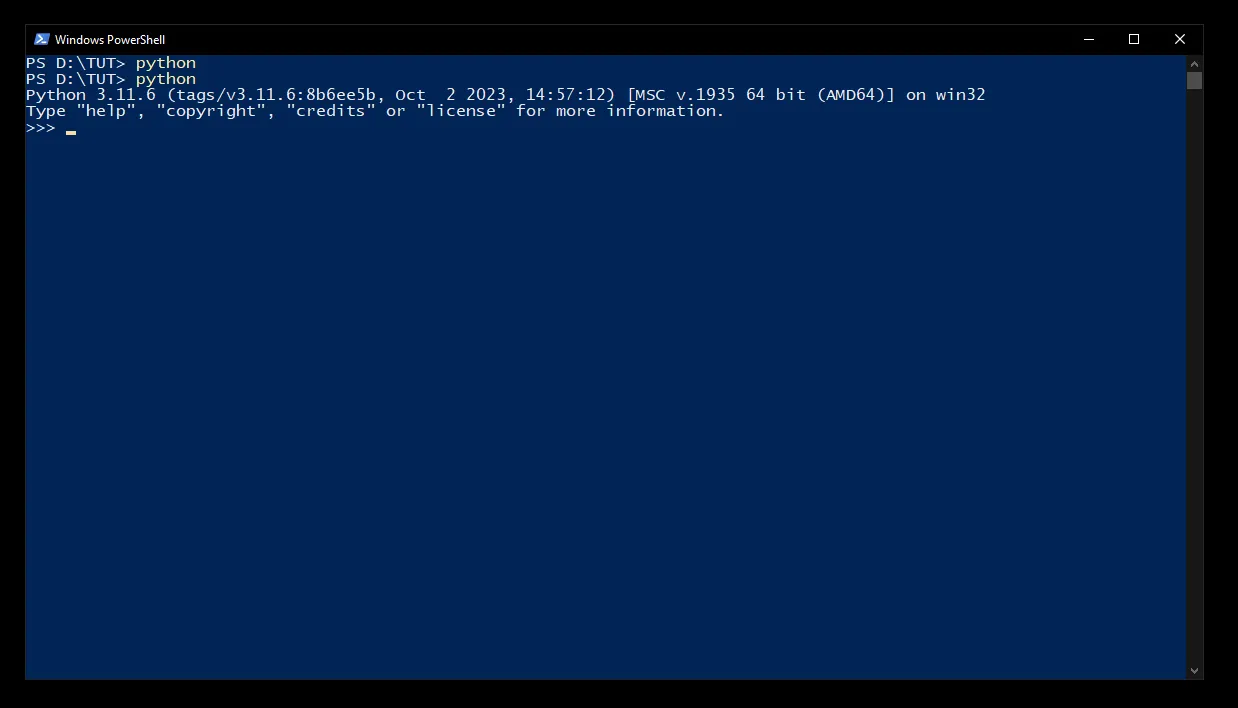
If you don't have Python installed, open a PowerShell Terminal and type python3.
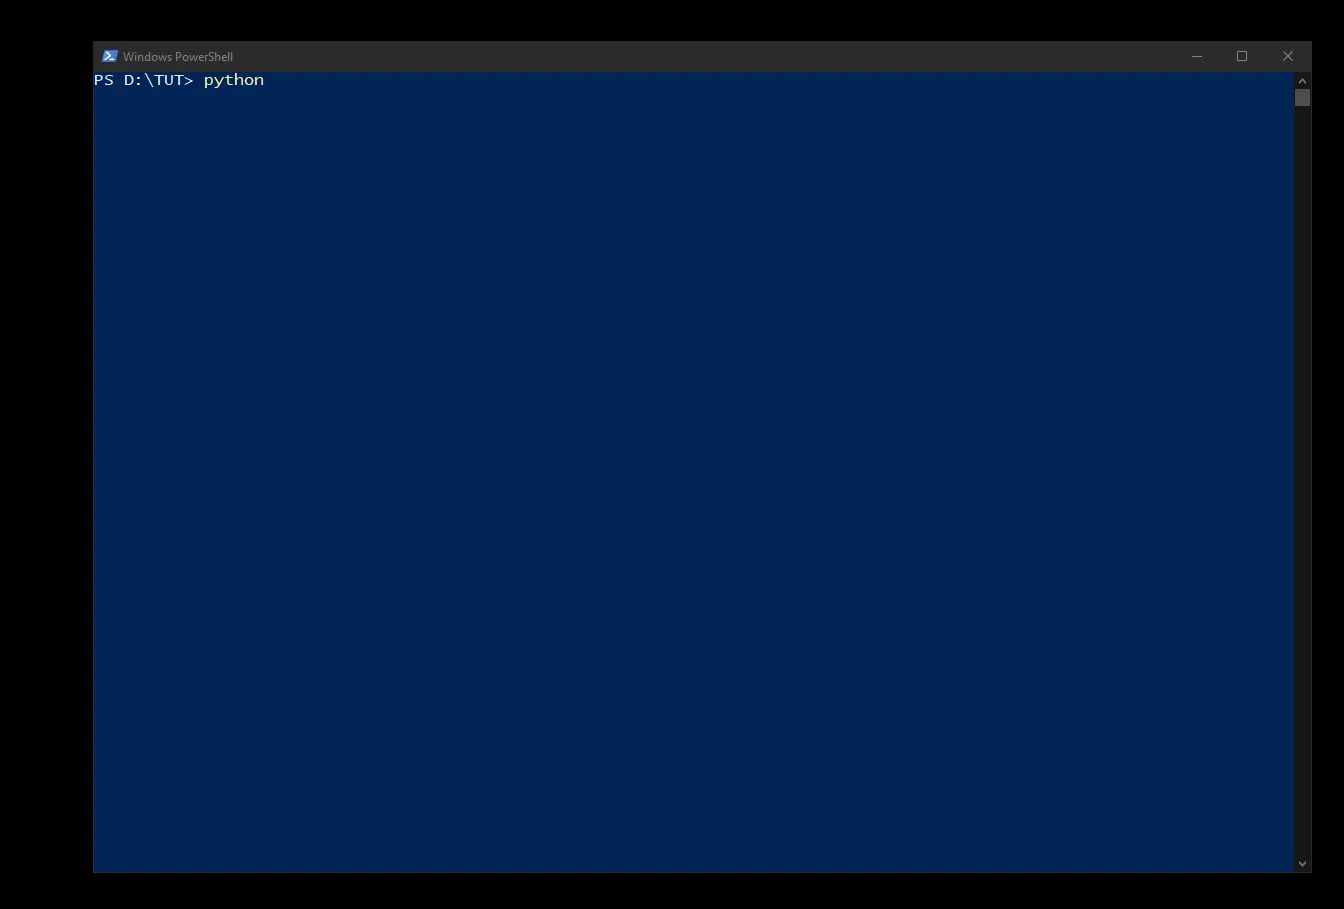
This will open the Windows Store. Click Install and wait for it to finish.
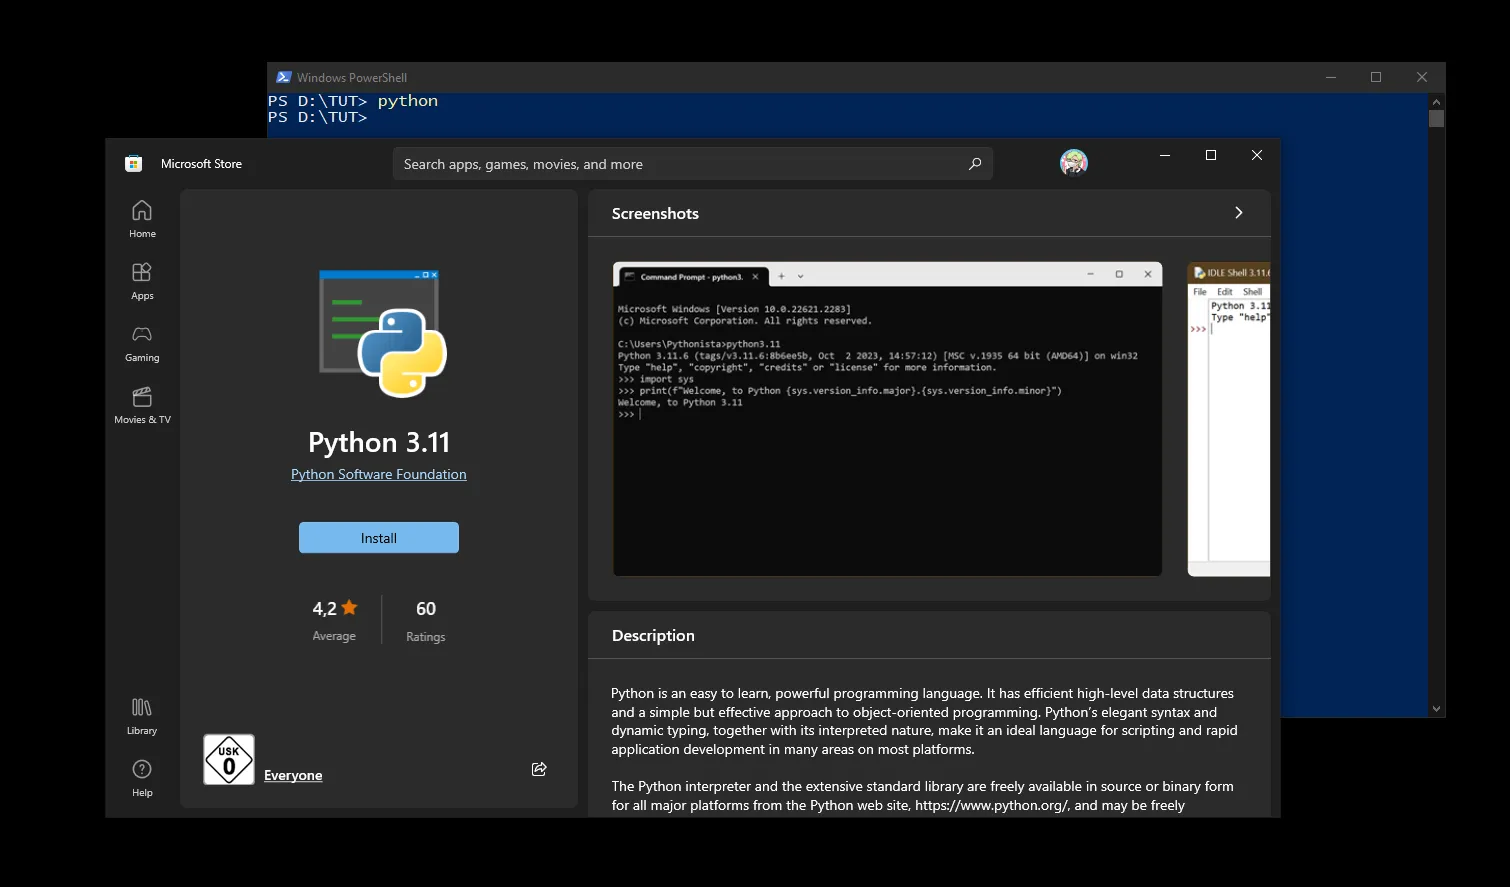
Verify the installation by running the command again.
Next, open a PowerShell Terminal in the folder where you extracted the project files. Install the necessary dependencies using requirements.txt:
pip install -r requirements.txt
````

Run the script to convert your `world.continent` file to a JSON format:

```powershell
python .\pdworld2json.py
You should now see a generated world.json file.
Important: The terminal will print out a specific list of files you need to export. Take note of these files for the next step.
4. Export the Needed Game Assets
Return to DieselBundleViewer and navigate to /units.
Locate the files listed by the pdworld2json.py script output (e.g., pd2_dlc_red, pd2_dlc_drive, pd2_dlc1, payday2, etc.). Highlight them, right-click, select Save as, and save them inside a folder named units within your project folder.
5. Convert Model Files
Ensure you have downloaded the PAYDAY 2 Model Tool and PAYDAY-2-Hashlist. Extract PD2ModelParser.exe into your workspace.
Extract the hashlist directly into the root folder of PD2ModelParser.exe. This step is mandatory for the parser to work.
Run ExportModels.bat. It will begin exporting the models. This process takes time, so let it run in the background.
Alternatively, you can run the batch export command manually (though it may crash upon encountering an error, whereas the .bat file forces it to continue):
.\PD2ModelParser.exe --batch-export=VALUE
Once finished, run ModelCopyForBlender.bat. This will sort your data, create output and textures folders, and copy everything needed for Blender.
6. Fix Models using Blender
Note: If you are porting to Unreal Engine 4, you must convert texture files to .webp first (Requires ImageMagick). Run:
python .\UE4_ConvertTextureFiles.py
Your output folder should now contain properly structured models, but they need fixing before Unreal can read them. Open ConvertExportedToUnreal.blend in Blender. (If the file fails to open, create a new project and manually load the Blender scripts).
Select the appropriate script based on your target engine (UE4 or UE5).
Click Run Script and wait. Blender will likely freeze or lag depending on the file count—this is normal.
Once complete, a new folder named done will appear. This folder contains your fixed models with properly applied textures (Note: Missing textures may occur if Overkill stored them outside the DLC folders).
7. Import Models into Unreal Engine
Importing massive amounts of data can cause Unreal to crash. Use the provided Python scripts (one for UE4, one for UE5) to assist with the import process. You may want to use an auto-clicker, as you will need to click "Import" frequently.
Run the script in UE5:
Or UE4:
Allow the engine to process the imports. This is the longest step in the process.
8. Import Map Data
You are in the home stretch. Copy the files from the UnrealEditorFiles/ folder into your Unreal project.
Reload your project. Drag world.json into the Content Browser. When the JSON import window appears, set the DataTable Row Type to PDWorldJson and click Apply.
Open the Level Spawner widget:
Select your map files and click Spawn Map:
Profit???
Hopefully, you now have a successfully ported map! If anything went wrong, carefully re-read through the steps above.
If you are completely stuck, feel free to reach out. I will try to help as best as I can. You can find me on Discord: boo3